
Share Your Glow
We love seeing your glow! This page is meant to guide you in capturing and sharing your Sacred Silk skin journey. Whether you're submitting before and after photos or leaving a heartfelt review, your story helps others discover the beauty of cyclical skincare. Your voice is powerful—and we're honored to have you as part of the True Femme Collective.
HOW-TO GUIDE
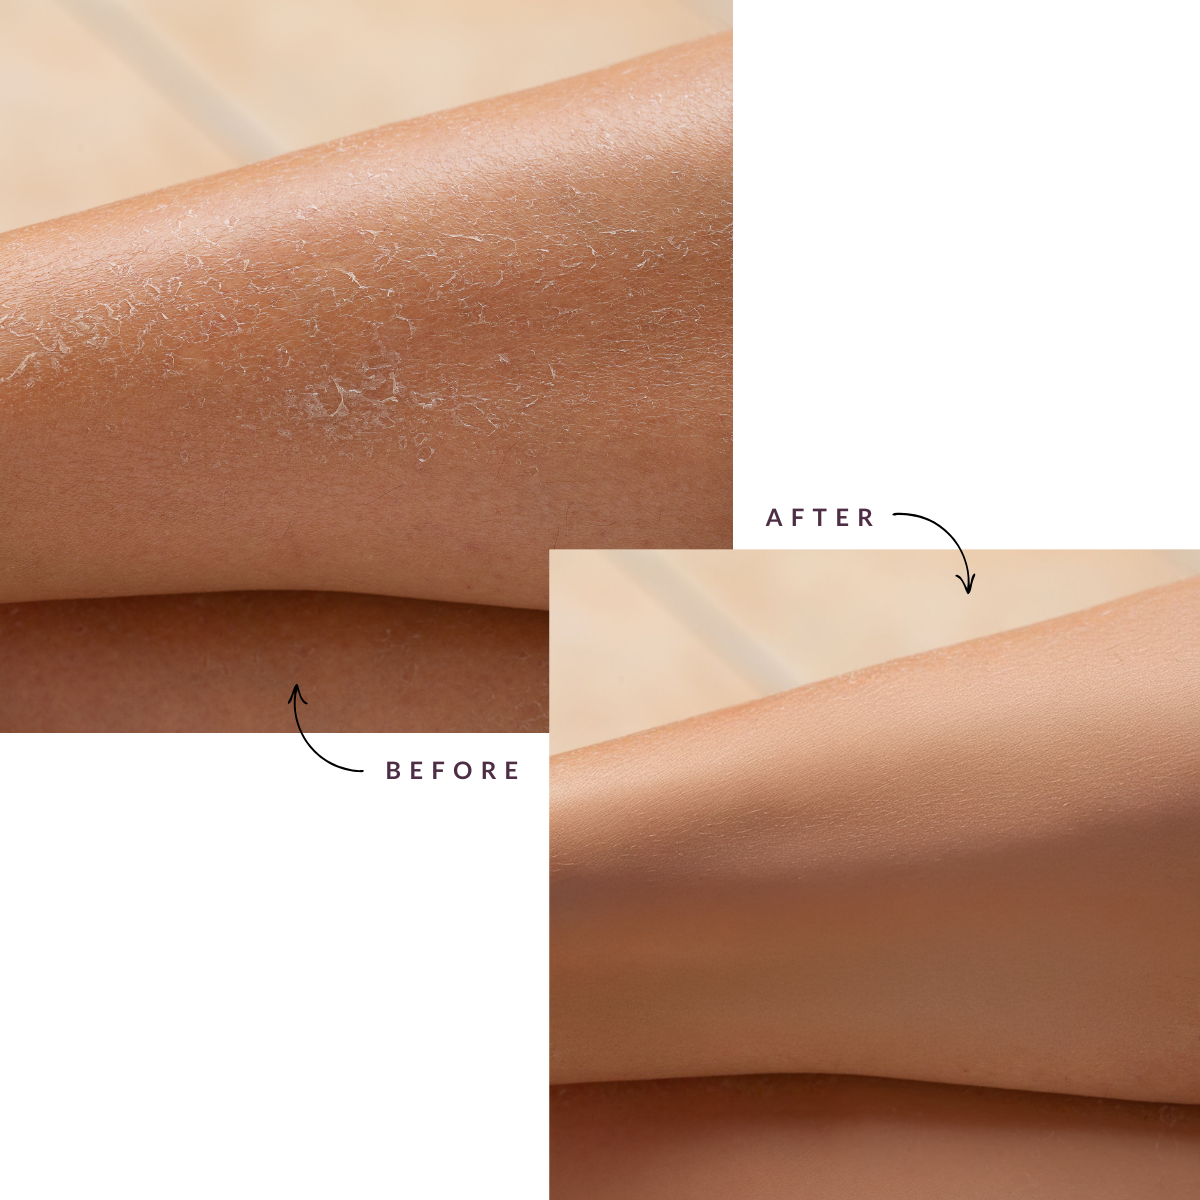
Before & After Photos
Before & after images are a powerful way to show the real impact of True Femme Collective’s skincare. These photos help highlight changes in skin texture, hydration, brightness, and clarity throughout the cycle.
Photo-Taking Guidelines
We’d love for you to leave a product review and share your before-and-after photos! Please submit your review on our website and also send your photos directly to us via email at femme@truefemmecollective.com so we can feature them.
-
Timing for the Best Results
📸 Day 1 (Before): Capture a photo before starting your True Femme product.
📸 Day 7-14 (Optional Check-in): Share a midway update on your progress.
📸 Day 21-28 (After): Take a photo at the end of your first cycle or after consistent use.
📸 Day 60 (Long-Term Results): Show the difference after extended use.
Note: For cycle-synced skincare, try taking photos at different cycle phases to see how your skin shifts! -
Lighting, focus & Background
- Use natural light (morning or near a window is best with the light behind you).
- Keep the same background for before & after shots. A neutral background (like a plain sheet or floor) helps keep the focus on the skin.
- Avoid using flash or harsh artificial lighting.
- Ensure sharp focus on the skin texture for clarity.
-
Skin Prep
- Cleanse your skin gently before taking the photos.
- No filters—keep it real.
-
Angles, Distance & Framing
- Take a close-up of the body area (legs, arms, abdomen, etc)
- About 12–18 inches (30–45 cm) away for a close-up, focusing on skin texture without losing context.
- The leg should fill most of the frame without being awkwardly cropped.
- A slightly angled or straight-on perspective works best.
Fantastic product. I love it!
I’m a man with dry sensitive skin and this has been the best skin care product I have ever used. It keeps my body hydrated all day. I use it on my face as well. My body loves all the natural and organic ingredients in TFC.
I am in the full swing of summer fun in the midwest. That includes keeping my sensitive and sun burn prone skin protected and nourished. While I take many steps to protect my skin from the sun, as a busy mom of 3 boys, I still end up pink at the end of a day here and there. I have found myself really leaning into my Sacred Skin moisturizer on those days where my skin is a little pink or red. The antioxidants make me feel good, knowing that they are helping to combat potential free radicals from over-exposure to the sun- and it's THE MOST moisturizing product that I have ever used. It's a must have!
I love using sacred silk and it’s now in my daily care routine. It goes on so nicely, is moisturizing on my dry skin, and I have peace knowing that it isn’t full of harsh chemicals that are harmful to my body but that it’s actually nourishing my skin. It’s a must buy!!
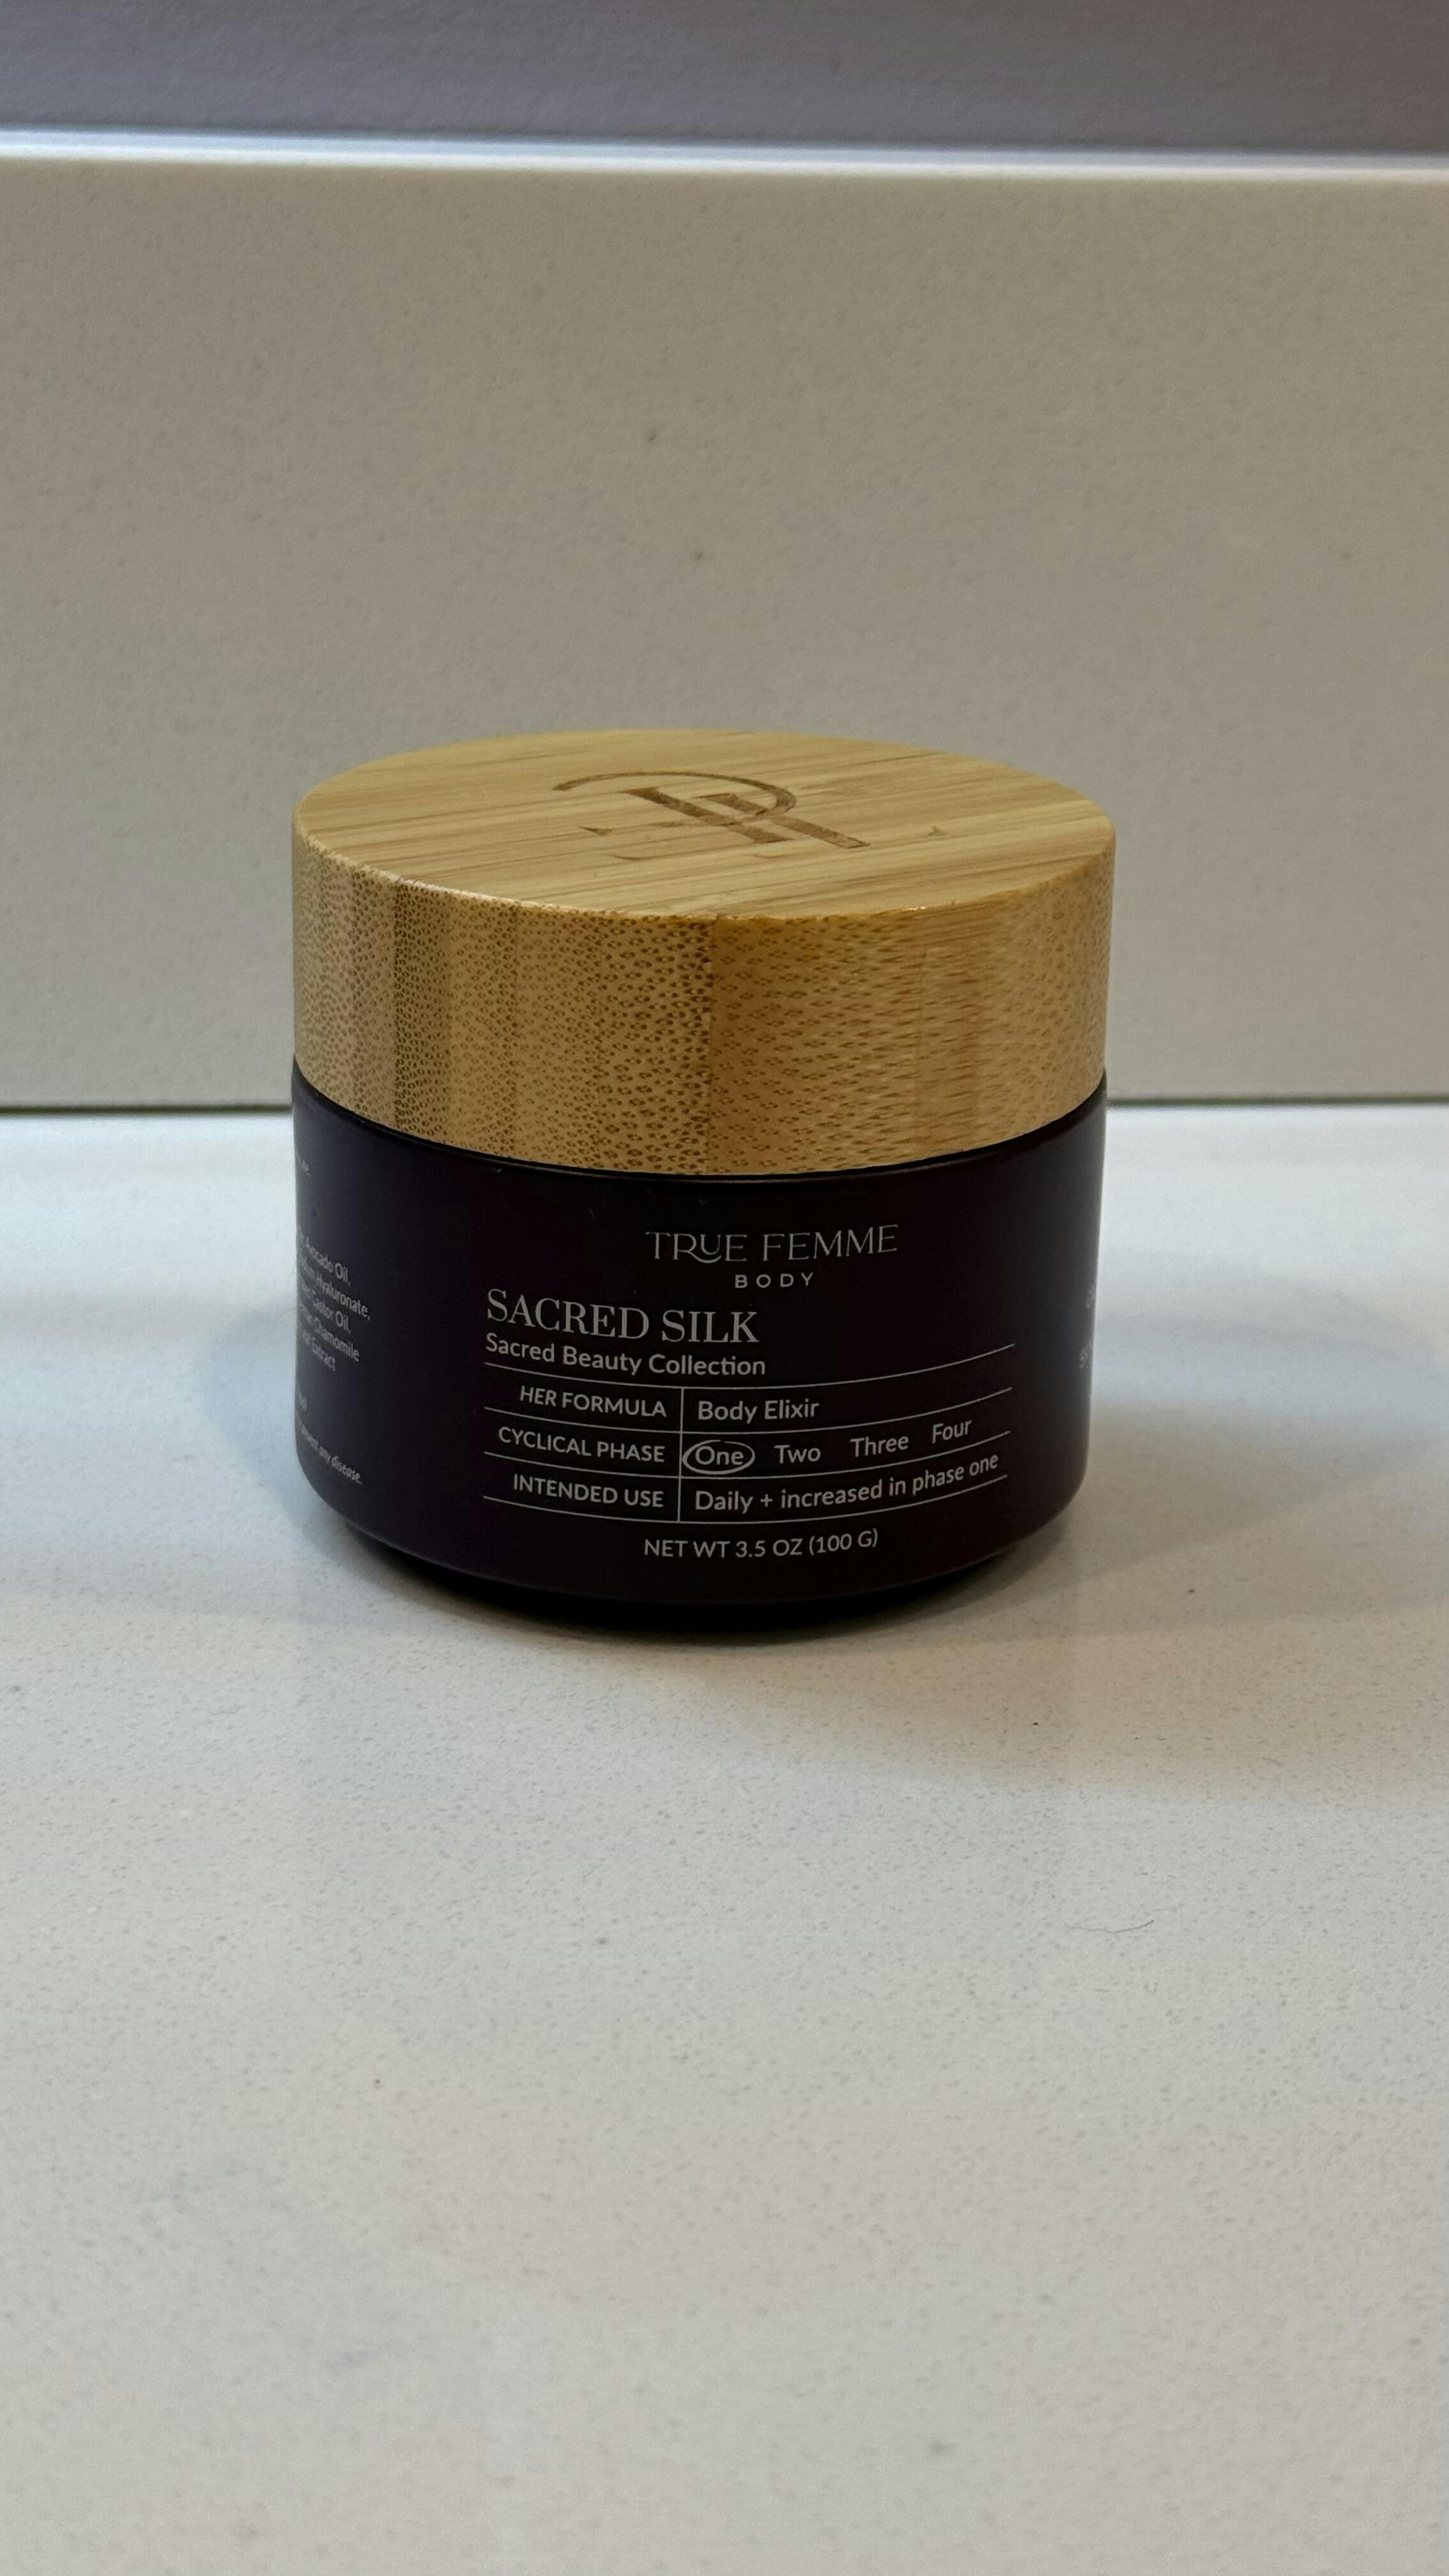
I've had drier-than-average skin my whole life; I'm 48. I began using Sacred Silk during the winter when my skin is at its driest. True to its name, this moisturizer glides on like silk, has great absorption, but somehow sticks around to offer relief/protection. After using Sacred Silk both AM/PM consistently for the past several months my dry skin has been replaced by a youthful glow. And the natural scent of the herbal ingredients is delightfully delicate. I love it. Thank you, Sisters! I anxiously await the rollout of the rest of your skincare line.
